How to Sharpen Photos Like a Pro in Just a Few Seconds
How to Sharpen Photos Like a Pro in Just a Few Seconds
Subscribe to YouTube
Time Stamps
- How to Make a Mask :54
- Manual Masks 5:12
- Selective Masks 8:13
How to Sharpen Photos in Adobe Photoshop

How to Sharpen Photos Like a Pro in Just a Few Seconds. The first question is why do we have to sharpen photos in photography. It is not to make out of focus images sharp again. Cameras use an anti-aliasing filter to help remove noise. This does an excellent job but results in a soft image. Sharpening photographs in Adobe Photoshop is a technique used to enhance the details and edges in an image, making it appear clearer and more defined.
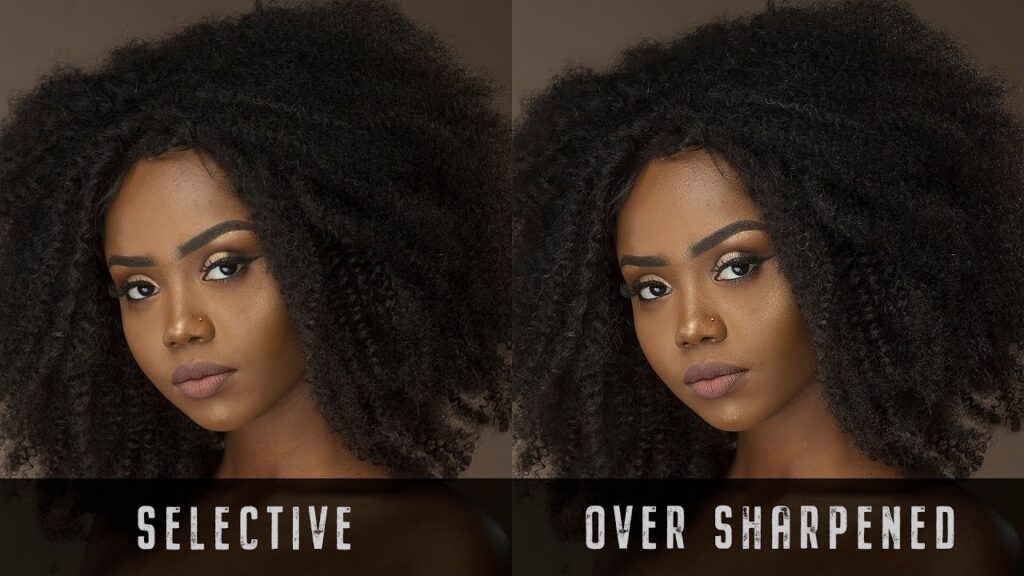
When you sharpen photos in Photoshop, you are essentially increasing the contrast along the edges of the image, making them appear more distinct. This can be achieved through various sharpening tools and techniques, such as the Unsharp Mask or Smart Sharpen filters. Localizing or selective sharpening to just the in-focus areas can also be beneficial.
However, it is important to note that sharpening an image can also introduce noise and artifacts, especially when overdone. Therefore, it is recommended to apply sharpening in moderation and with careful consideration of the image’s intended use and output medium.

2 Ways to Sharpen in Photoshop
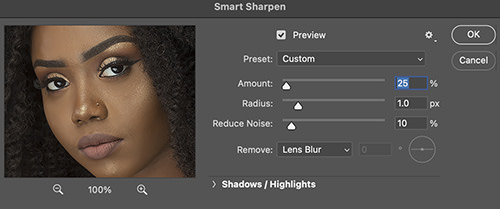
The two main ways of sharpening an image built into Adobe Photoshop are Smart Sharpen (which I dislike) and unsharp mask. Unsharp mask is by far my favorite, but it is also the most difficult to understand. There are a few factors to remember when applying sharpening to an image.
- Never sharpen an image until you have sized the image. The size of an image will directly effect the amount of sharpening needed.
- Radius-when sharpening an edge you will make the pixel on the highlight side brighter, and the shadow side darker. Adding a higher radius will increase how far the pixels are lightened. A high radius will create a halo effect. I always use 1 pixel.
- You only need to sharpen the in-focus edges of an image. Making a selection around that area will reduce artifacts and noise.
- If you use unsharp mask, think of threshold as how many steps away in a grayscale you want areas to be to have sharpening applied. A skin tone is basically all the same values. A higher threshold like 4 will not affect those areas. A larger threshold will only sharpen areas of higher contrast, which is exactly what you want in photography.
Advanced Sharpening
If you would like to view a post that is more in depth on how to sharpen photos in Adobe Photoshop, check out this link https://johnwhiteheadimages.com/2023/02/19/sharpening-in-photoshop/ I will cover two additional ways to sharpen photos in Adobe Photoshop, and I will zoom in so you can see exactly what the process is doing.

